OpenAI recently released two open-weight large language models (LLMs), gpt-oss-20b and gpt-oss-120b. I tested the smaller model by developing an LLM-powered Git commit message generator. In this post, I am going to describe the following steps in details:
- Setting a Python virtual environment using the
uvpackage and project manager. - Developing a Python application that interacts with the LLM to generate commit messages from Git diffs.
- Configuring a Hugging Face inference endpoint.
- Running the application.
I am working on a Windows machine with Python 3.12.7 installed.
1. Setting of the Python Virtual Environment
For this project I am going to use uv, a very efficient and cross-platform package and project manager written in the Rust programming language.
To install uv open Windows PowerShell and type
powershell -ExecutionPolicy ByPass -c "irm https://astral.sh/uv/install.ps1 | iex"
To check whether uv is properly installed, just type
uv --version
To create the virtual environment, enter the following command in the terminal
C:\Users\Cristiano\venvs>uv venv llm-git-committer
where llm-git-committer is the name I picked for the environment. In this example, the current directory is a dedicated folder called venvs, which I created for storing Python virtual environments.
To activate the virtual environment type
C:\Users\Cristiano\venvs>llm-git-committer\Scripts\activate
Now, let’s install the OpenAI API client library for Python by typing
C:\Users\Cristiano\venvs>uv pip install openai
To get a list of the packages installed in the active virtual environment, enter the following command
C:\Users\Cristiano\venvs>uv pip list
you should see the openai library listed together with additional dependencies. I have also installed the code formatter library black and the YAML parser library PyYAML.
2. Development of the Application
The repository is available here and its structure is as follows:
repo/
├── config/
│   ├── params.template.yaml
│   └── prompts.template.yaml
├── src/llmgit/
│   ├── __version__.py
│   └── main.py
├── .gitignore
├── LICENSE
└── README.md
The config directory stores two template files:
params.template.yamlto set the model and its temperature. Temperature is usually considered as a parameter for tuning the ‘creativity’ of a LLM. However, a recent paper by Peeperkorn et al (2024) suggests the following:We find that temperature is weakly correlated with novelty, and unsurprisingly, moderately correlated with incoherence, but there is no relationship with either cohesion or typicality. However, the influence of temperature on creativity is far more nuanced and weak than suggested by the “creativity parameter” claim; overall results suggest that the LLM generates slightly more novel outputs as temperatures get higher.
prompts.template.yamlto set the instructions given to the model. In particular:style_guidesets the commit message format and style.system_promptsets the model behavior, i.e. to act as an expert programmer who is skilled at writing Git commit messages.user_prompt_templatesets the the main task instruction, i.e. to generate a commit message based on a Git diff.
Both files are version-controlled and to be imported by the application and modified it without triggering Git, copy the files and remove the .template string from the filenames.
In src/llmgit/ the main.py file is stored which consists of two core functions:
-
get_git_diffto return the staged diff given the path of the target repositoryrepo_path. The latter is provided as an argument tomain.py. The commandgit diff --stagedis run by leveraging the built-insubprocesslibrary. The code of the function is reported below.def get_git_diff(repo_path: str) -> str: """ Get the staged git diff from the specified repository path. Parameters ---------- repo_path : str Returns ------- str Raises ------ FileNotFoundError If `repo_path` does not exist. subprocess.CalledProcessError If `repo_path` is not a valid Git repository. """ try: result = subprocess.run( ["git", "diff", "--staged"], cwd=repo_path, capture_output=True, text=True, check=True, ) return result.stdout except FileNotFoundError: logger.error(f"'{repo_path}' does not exist.") raise except subprocess.CalledProcessError: logger.error(f"'{repo_path}' is not a valid Git repository.") raise -
generate_commit_messageto return the commit message generated by the LLM (code below). The function takes as inputs the parameters, the prompts, the git diff, and anOpenAIclient instance. The latter is defined as follows:client = OpenAI(base_url=hf_endpoint_url, api_key=hf_api_key)where
base_urlpoints to the Hugging Face Inference Endpoint (described in the following section) and theapi_key, i.e. the authentication token to access the model hosted at thebase_url. The values for bothbase_urlandapi_keyare retrieved from environment variables. Ensure that these variables are defined before running the code (see the following section for further details).def generate_commit_message( client: OpenAI, git_diff: str, params: SimpleNamespace, prompts: SimpleNamespace ) -> str: """ Generate the commit message. Parameters ---------- client : OpenAI git_diff : str params : SimpleNamespace prompts : SimpleNamespace Returns ------- str Raises ------ Exception If calling the Hugging Face endpoint fails. """ user_prompt = prompts.user_prompt_template.format( style_guide=prompts.style_guide, diff_text=git_diff ) try: chat_completion = client.chat.completions.create( model=params.model, messages=[ {"role": "system", "content": prompts.system_prompt}, {"role": "user", "content": user_prompt}, ], temperature=params.temperature, stream=True, ) full_response = "" for message in chat_completion: if message.choices[0].delta.content is not None: chunk = message.choices[0].delta.content full_response += chunk return full_response.strip() except Exception as exception: logger.error(f"Calling the Hugging Face endpoint failed: {exception}") raise
3. Setting a Hugging Face Inference Endpoint
To consume the model, I leverage the Inference Endpoints service by Hugging Face. This service allows the user to focus on building applications, without dealing with the complexity and costs of production AI deployment. The whole procedure for creating an inference endpoint is reported below.
-
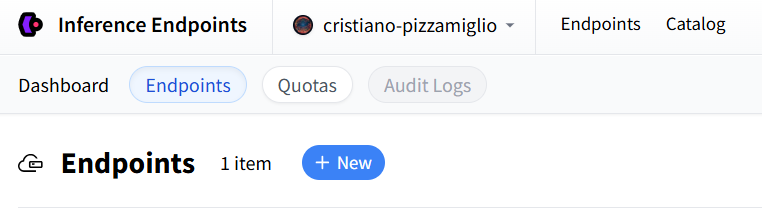
Visit the Hugging Face Inference Endpoints website.
-
Sign up to create an account or log in.
-
Click the + New button in your Inference Endpoints dashboard.
-
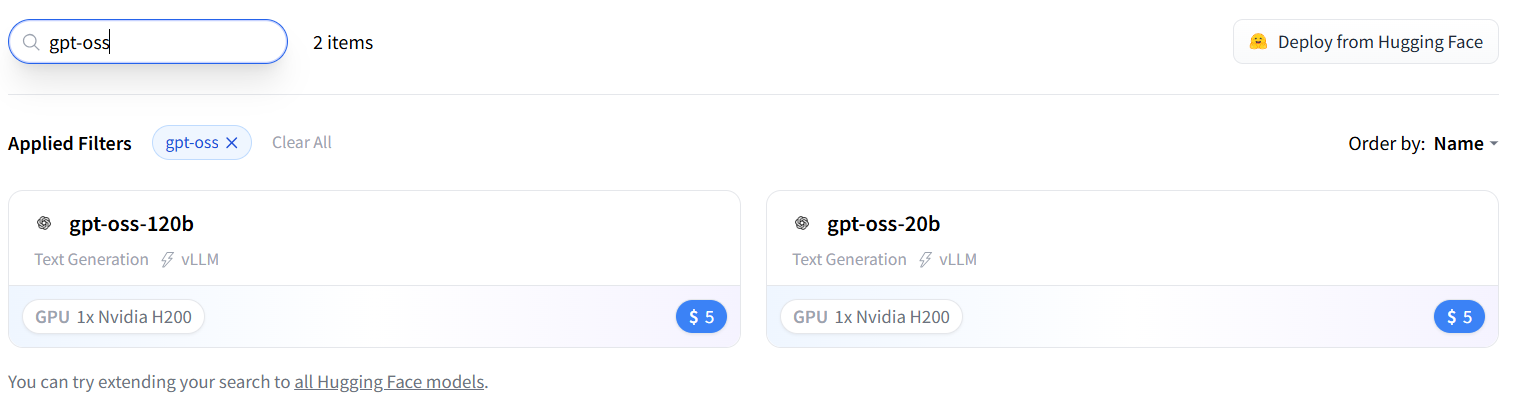
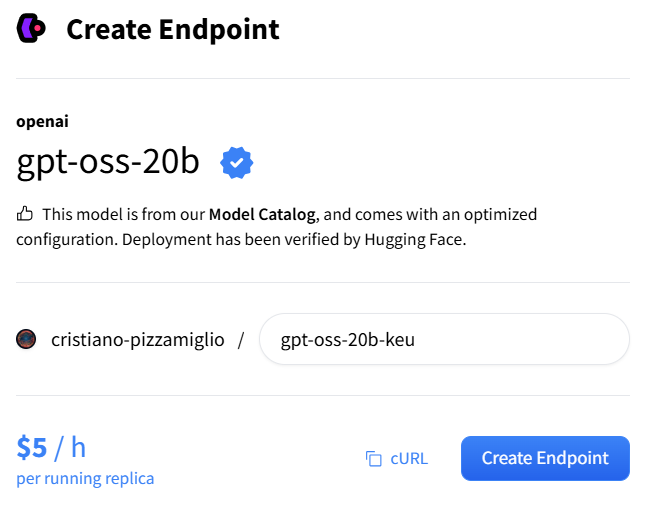
Using the search bar, select the model of interest.
-
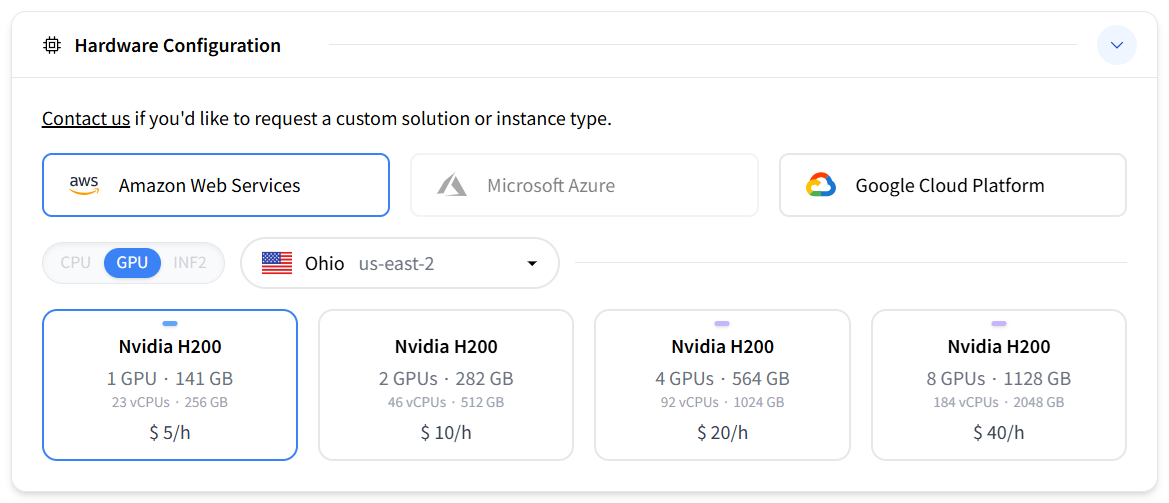
Select a cloud provider. This is a portfolio project. However, if your project deals with sensitive data, the EU GDPR applies.
-
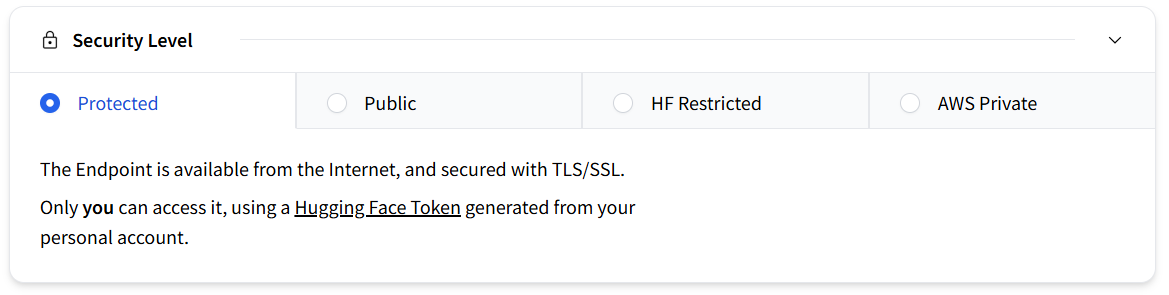
Select the security level.
-
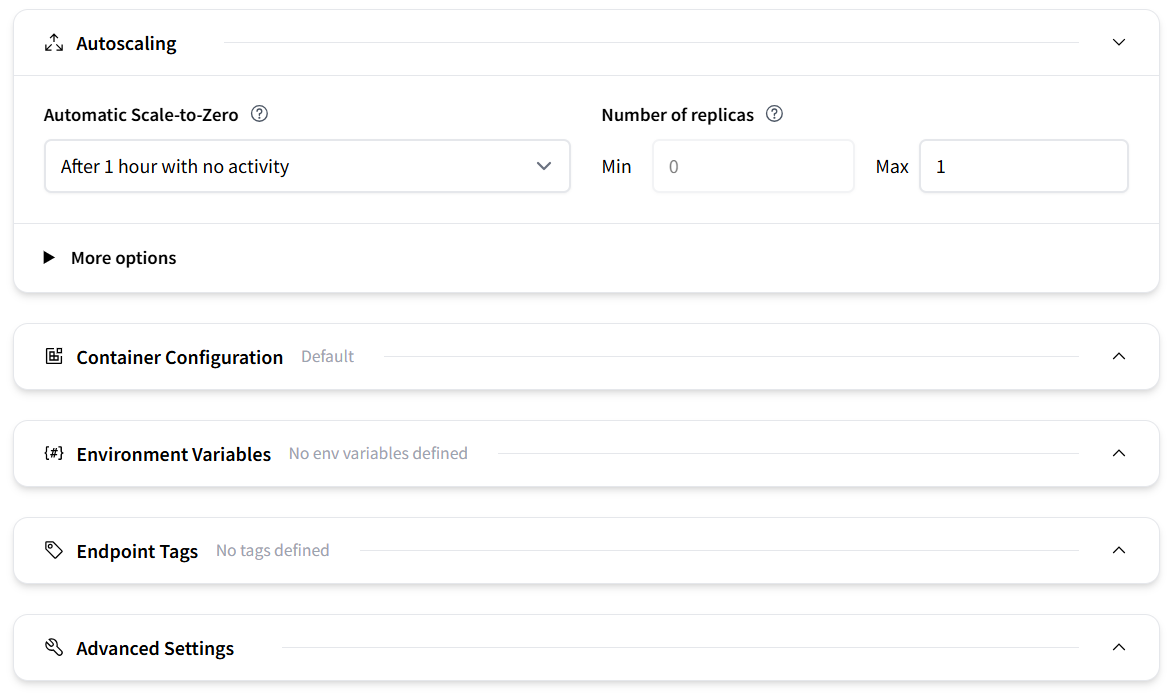
Configure additional settings, like Autoscaling, to dynamically adjust the number of endpoint replicas running the model, or environment variables. For a simple project, you can keep the default settings.
-
Click the Create Endpoint button. After a short wait, the endpoint status will change to Running. Billing starts as soon as the endpoint is running and is based on time, not usage. Press the Pause button to pause the endpoint and stop being billed.
-
In the Overview tab of the newly created endpoint you can retrieve the Endpoint URL. Paste its value into your local
hf_endpoint_urlenvironment variable. -
Next, look for the Playground section in the Overview tab, then click API and finally click the App Tokens button. You will be redirected to the Access Tokens page of your Hugging Face account. From there, generate a token and paste its value into your local
hf_api_keyenvironment variable.
4. Running the Application
To test the application I used point-picker-3d, a simple interface to pick points on a geometry file (e.g. stl, ply, obj, etc.) and to export the coordinates to a csv file.
The staged diff is reported below
@@ -74,6 +74,7 @@ class Ui(QMainWindow):
         else:
             path = Path(self.import_geometry_box.lineedit.text())
             self.plot_box.plotter.add_mesh(mesh, show_edges=True)
+            self.plot_box.plotter.enable_lightkit()^M
             self.plot_box.plotter.add_text(f"{path.name}", font_size=6)

         def callback(point):
the added line enables the default light-kit lighting (pyvista library). The commit messages generated by gpt-oss-20b for two different temperature values, T, are listed below. For each temperature value, the application was run five times.
T = 0.0- feat: add lightkit to plotter after adding mesh
- feat: add lightkit to plotter after adding mesh
- feat: add lightkit to plotter after adding mesh
- feat: add lightkit to plotter after adding mesh
- feat: add lightkit to plotter after adding mesh
T = 1.0- feat: add lightkit to plotted meshes
- feat: enable light kit for plotted meshes
- feat: enable lighting kit in point picker ui
- feat: enable lightkit for plotted meshes in ui rendering
- feat: add lightkit to plotter
We clearly see that at a temperature value equal to 0.0 the model is deterministic, always producing an identical, most probable commit message. In contrast, for a value equal to 1.0, randomness is introduced, enabling the model to generate diverse but thematically related variations of the commit message.