The Carbon programming language is an experimental successor to C++.
Google engineer Chandler Carruth first introduced Carbon at the CppNorth conference in Toronto in July 2022.
As stated in Carbon’s GitHub repo, the aim of the developers is to design a language to support:
- Performance-critical software
- Software and language evolution
- Code that is easy to read, understand, and write
- Practical safety and testing mechanisms
- Fast and scalable development
- Modern OS platforms, hardware architectures, and environments
- Interoperability with and migration from existing C++ code
The main reason behind the development of a replacement for C++ is that evolving and improving the latter is getting more and more challenging due to the piling up of technical debt.
Languages like Go, Kotlin and especially Rust already offer, for the right use case, a valuable alternative to C++, but none of the them allows a smooth migration from a C++ codebase.
I was eager to play with it, unfortunately the language is not natively supported on Windows yet, so the instructions reported on GitHub are not exhaustive. I did a little bit of research and eventually I managed to properly install it by leveraging the Windows Subsystem for Linux or WSL for short. All the steps required for the installation are listed below. I would like to thank the authors of this article and this video for the valuable information they shared.
If you don’t need to install Carbon locally, you can just use the Compiler Explorer web app.
1. Install WSL
The Windows Subsystem for Linux is a terrific tool that allows you to run a Linux environment directly from a Windows machine, so no need for partitioning the hard drive and running a dual boot system.
To install WSL, you need Windows 10 version 2004 or higher, or Windows 11.
Run the PowerShell as administrator and type
wsl --install
to setup WSL and to install the Ubuntu distribution of Linux. You can change the default distribution, but Ubuntu is always a good choice especially if you are just getting started with Linux.
This step could require several minutes but it’s quite straightforward. You will have to reboot your machine and then Ubuntu will be set up for you and you will be asked to create a username and password.
Whenever you need to run Ubuntu, just type
wsl
and an Ubuntu terminal session will be up and running.
If you are logged in as root, switch to a normal user to be able to perform the upcoming steps
su -l your_username
You should see something like that from the terminal:

2. Install Homebrew
Homebrew is a free and open-source software package management system that simplifies the installation of software on Apple’s operating system, macOS and Linux.
Go to its webpage where you will find the following command to copy
/bin/bash -c "$(curl -fsSL https://raw.githubusercontent.com/Homebrew/install/HEAD/install.sh)"
then paste it on your terminal and enter your password when requested.
Then, add Homebrew to your PATH variable by entering the two commands below (change username in the first command):
echo 'eval "$(/home/linuxbrew/.linuxbrew/bin/brew shellenv)"' >> /home/cristiano/.profile
eval "$(/home/linuxbrew/.linuxbrew/bin/brew shellenv)"
Install build-essential:
sudo apt-get install build-essential
Finally, install GCC by entering
brew install gcc
3. Build the Carbon explorer
At this point we can just go back to the Carbon’s GitHub repo and follow the instructions listed in the getting started section.
Install bazelisk
brew install bazelisk
Then, install LLVM which is used to write the Carbon compiler
brew install llvm
and add it to your PATH variable
export PATH="$(brew --prefix llvm)/bin:${PATH}"
Finally, we can download Carbon’s code from GitHub by typing
git clone https://github.com/carbon-language/carbon-lang
and change directory
cd carbon-lang
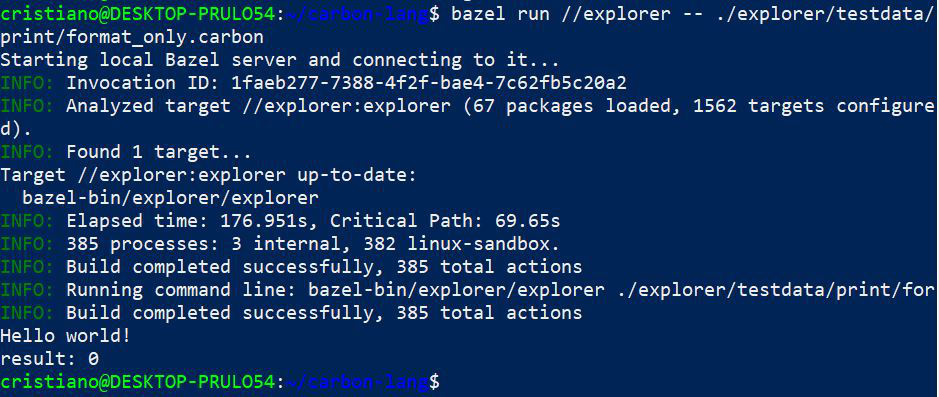
To run the Hello, World! program, type the following command
bazel run //explorer -- ./explorer/testdata/print/format_only.carbon
As stated in the article mentioned earlier, the meaning of this line is to
invoke Bazel build tool to trigger explorer code that in turns runs the actual code present in the
./explorer/testdata/print/format_only.carbonfile.
At this point, you should see the output displayed on the terminal:
4. Programming in Carbon using VS Code
Another cool feature of the WSL is that you can easily connect VS Code to it.
Open VS Code and install the Remote Development pack from the marketplace.
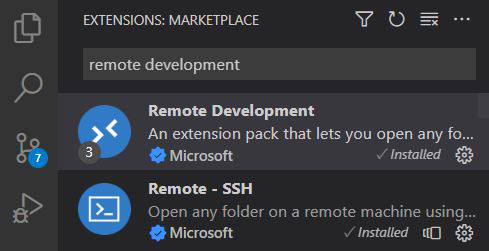
Now the Remote Explorer tab is available:
-
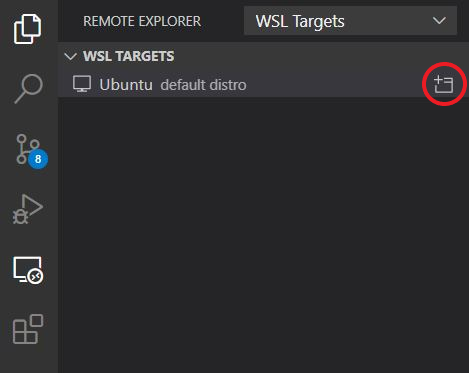
click on it,
-
select WSL Targets from the drop-down menu,
-
click the Connect to WSL button (as shown in the image below by the red circle) and a new VS Code window will open.
-
From the new VS Code window, open the
/home/your_username/carbon-lang/folder.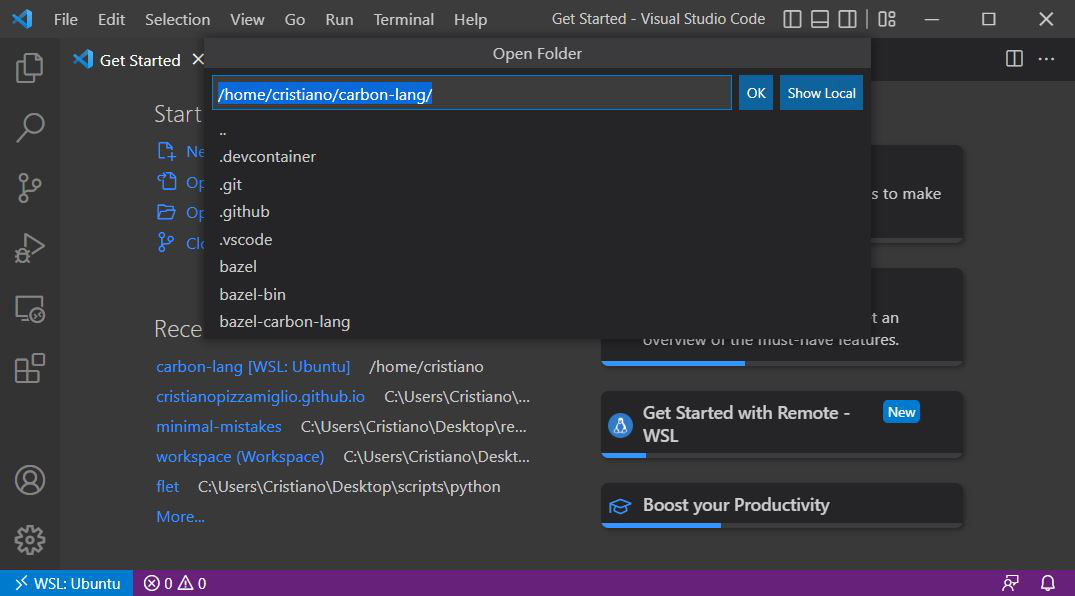
-
From the Explorer tab open the
/explorer/testdata/print/format_only.carbonfile to edit the Hello, World! program. For instance, I have changed the string to"Hello Cristiano!" -
To run the code, type again the command
bazel run //explorer -- ./explorer/testdata/print/format_only.carbonin the VS Code terminal.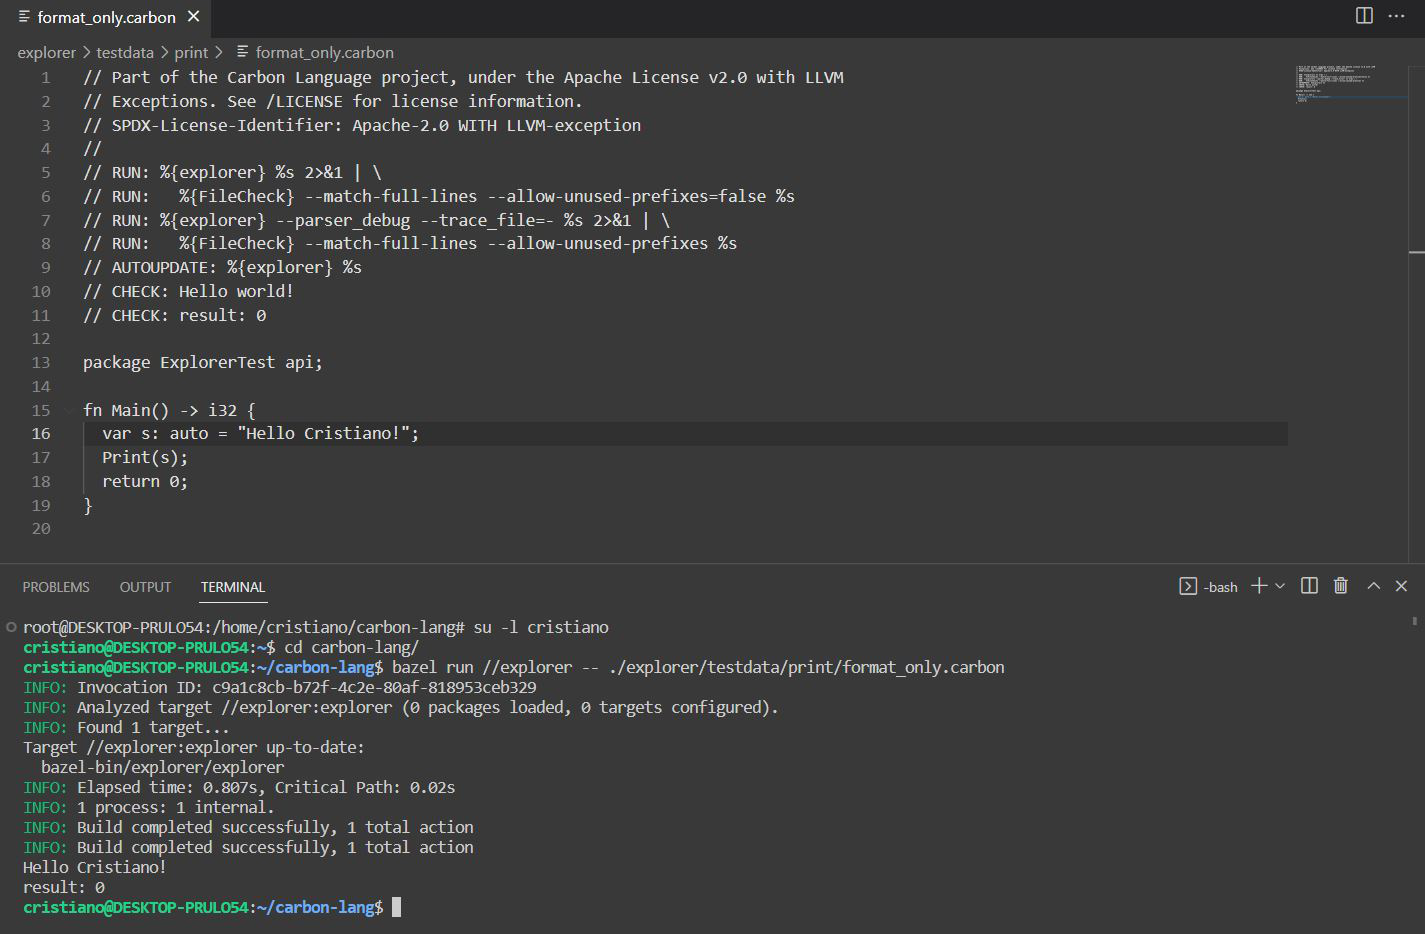
Now you are ready to experiment with the Carbon language using VS Code directly from your Windows machine thanks to WSL.